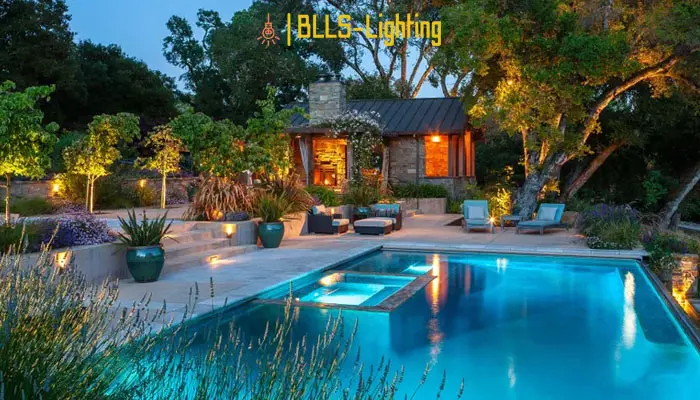
Installing pool lights is a crucial aspect of creating an inviting and safe aquatic environment in any backyard oasis. Beyond merely enhancing the aesthetic appeal of your pool area, how to install a pool light plays a pivotal role in ensuring a secure and enjoyable swimming experience, especially during evening hours.
In this step-by-step guide, we will explore the significance of illuminating your pool, delve into the installation process, and highlight key considerations to guarantee a successful and functional outcome. Whether you are looking to create a captivating ambiance or extend the usability of your pool into the night, understanding the intricacies of pool light installation is essential for both functionality and aesthetics.

Preparations Before Pool Light Installation
Essential Tools
To ensure a successful installation, gather the following tools:
- Marker pen: For tracing the light fixture outline on the pool’s surface.
- Electric hammer: For drilling into concrete surfaces.
- Tape measure: For measuring distances and ensuring proper placement.
- Voltage tester: For verifying that power is off before proceeding.
- Flat head screwdriver: For removing screws and bolts.
- Phillips head screwdriver: For tightening screws and bolts.
- Soft towel or cloth: For wiping away water and debris.
- Angled pliers or wire cutters: For cutting and manipulating wires.
- Electrical tape: For insulating wire connections.
Power Off
Safety is paramount. Before beginning any installation work:
- Turn off all power to the pool light system at the circuit breaker panel or main power switch.
- Use a voltage tester to confirm that power is completely off.
How to Install a Pool Light

Step-by-Step Guide
1. Power Off
- Ensure electrical safety by switching off the pool’s power supply at the circuit breaker.
2. Gather Tools and Equipment
- Screwdrivers (Phillips and flathead)
- Waterproof sealant
- Voltage tester
- Pool light fixture
- Drill and drill bits (depending on pool light type)
3. Choose the Location
- Determine the optimal position for the light, considering both illumination and avoidance of obstacles.
4. Mark the Location
- Accurately mark the spot where the light will be installed, ensuring it’s away from inlets and outlets.
5. Drill a Hole (if necessary)
- For recessed or surface-mounted lights, drill a hole of the appropriate size using a masonry bit.
6. Thread the Electrical Wiring
- Route the electrical wiring from the power source to the drilled hole.
7. Connect the Wires
- Connect the electrical wires from the pool light fixture to the power supply, using a voltage tester to confirm power is off.
8. Mount the Fixture
- Secure the light fixture into the hole using the provided mounting hardware.
9. Seal the Edges
- Apply waterproof sealant around the edges to prevent water infiltration and damage.
10. Test the Light
- Reactivate the power supply and verify that the light illuminates properly.
11. Clean Up
- Discard any leftover materials and tidy up the work area.
12. Regular Maintenance
- Regularly inspect the light for wear and replace bulbs or fixtures as needed.

How to Install a Pool Light Fixture
Installing a pool light fixture requires careful planning and execution to ensure proper functionality and safety. Consider the following factors:
Installation Costs:
The cost of installation varies depending on the type of light fixture, the number and location of lights, the size of the pool, and the involvement of an electrician. Recessed lights tend to be more expensive due to their complex installation process.
Types of Pools:
Different pool types may require specific installation procedures. Concrete pools, for example, typically involve more complex installations compared to fiberglass pools.
Risks During Installation:
To ensure a safe and compliant installation, address the following potential risks:
- Incorrect Voltage: Verify compliance with local regulations and use the appropriate voltage system (12V or 120V).
- Bonding/Grounding: Consult an inspector to avoid safety hazards and code violations.
- Unqualified Electrician: Engage a licensed professional for proper electrical work.
- Inadequate Sealing: Seal the liner around the light niche thoroughly to prevent water leakage.
- Operating Incandescent Lights Without Water: Water is crucial for cooling incandescent lights. Operating them without water can damage the bulbs and shorten their lifespan.
FAQ
How Deep should the Pool Light Conduit be Buried?
Ensure that the electrical conduit is buried at a sufficient depth to avoid interference in case of future digging in that area of the yard. It is advisable to place the conduit approximately 2-3 feet down within the trench. This depth not only protects the conduit from accidental hits during yard maintenance or other excavation activities but also ensures a secure and unobtrusive placement for the pool light wiring.
Light fixture, housing, wiring conduit, and junction box?
Ensure that you wrap additional wire around the light inside the pool niche. Leave about 3-4 feet of wire inside the light niche so that you can pull the light up to the deck if you need to replace the bulb.
After pulling the wire through the conduit, leaving around 3-4 feet remaining in the niche, you can cut the wire at the junction box. Cut about 6 inches of the pool light wire insulation and then strip the wire ends. Use wire connectors, connect the pool light wire to the GFCI breaker and the ground wire is attached to the green screw.
Check the light for just 1 second – if there is no water to cool the light, the lens and bulb may become too hot and explode within minutes! After a quick check, the junction box cover can be securely tightened.
How do you properly seal a swimming pool light to the pool liner?
Don’t rush to fit the light ring onto the liner. You must wait until the water in the pool is filled halfway or reaches the bottom of the light. This ensures that the pool liner stretches fully into the correct position.
Before fitting the liner, use some adhesive to attach the first gasket to the pool niche (under the liner) and ensure the holes on the gasket align with those on the niche. With the pool liner in the right position and the water level reaching the light, lean over the edge of the pool and install the second gasket and the light ring with the 10 screws provided.
After the light ring is securely fastened and the screws are tightened, take a utility knife and cut the liner inside the faceplate. Importantly, you should never twist or cut any part of the liner until the water level reaches the area you intend to cut out.
Finally, you can install the light fixture or bulb into the light niche, wrapping the light cord around it. There is a screw that will secure the light in place. Once water fills the light, it’s time to switch on the light and see that beautiful bright glow in your pool. If it’s daytime when you install the pool, wait until evening to appreciate the beautiful lighting in your pool.
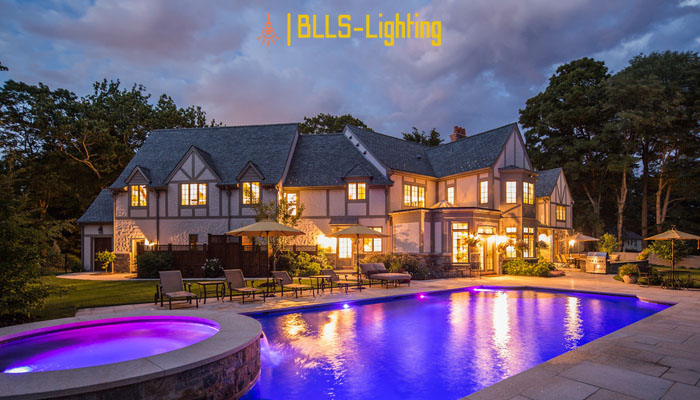
Conclusion
Installing pool lighting might appear intricate, but adhering to the proper steps and safety precautions ensures a successful installation. If you require additional assistance, we recommend consulting a professional electrician or pool expert to guarantee safety. Pool lighting not only adds glamour to your pool but also enhances the pleasure of night swimming.
For guidance on turning on pool lights, refer to our article on “how to turn on pool lights“. We wish you success with your pool lighting installation and hope you enjoy the captivating ambiance it brings to your pool!