When it comes to ensuring the efficient operation of your solar lights, one crucial component to pay attention to is the sensor. A malfunctioning sensor can lead to various issues, such as lights not turning on at night or failing to detect motion.
However, knowing how to fix a solar light sensor can save you time and frustration. By troubleshooting and addressing common problems, you can ensure that your solar lights continue to provide reliable illumination for your outdoor space. Let’s explore some effective methods to troubleshoot and fix issues with solar light sensors.
Troubleshooting Solar Light Sensor Issues
Identifying the Problem
- Check the connections: Ensure all wires are firmly connected and free of corrosion.
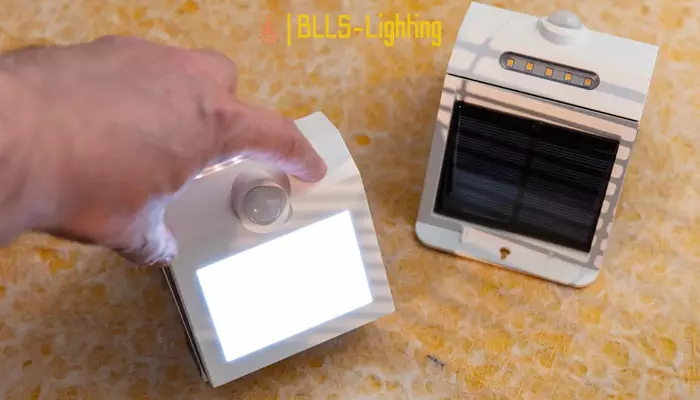
- Test the sensor: Cover the sensor with your hand and check if the light turns on.
Repairing the Sensor
- Clean the sensor: Remove dirt or debris from the sensor using a soft cloth or compressed air.
- Adjust the sensor: If the sensor is out of alignment, carefully adjust it to the correct position.
Replacing the Sensor
- Disconnect the sensor from the circuit: Shut off power to the light and remove the sensor from the control circuit.
- Remove the old sensor: Carefully detach the old sensor from the housing.
- Install the new sensor: Insert the new sensor into the housing and connect it to the circuit.
Resetting the Sensor
- Locate the reset button: Some sensors have a small reset button on the back or side.
- Press and hold the button: Follow the manufacturer’s instructions for the specific reset procedure.
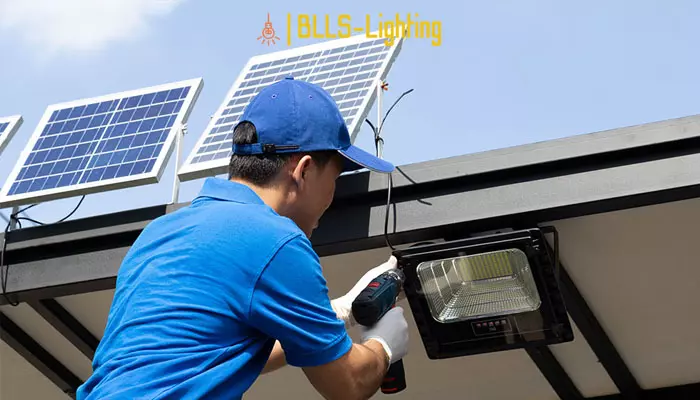
Solar Light Sensor Installation
- Choose the location: Select a sunny area where the sensor will receive ample sunlight.
- Mount the sensor: Follow the provided mounting instructions to secure the sensor to the fixture.
Wiring Solar Light Sensor
- Identify the sensor wires: Typically, red for positive and black for negative.
- Connect the sensor to the circuit: Match the wires to the corresponding terminals on the control circuit.
Solar Light Sensor Maintenance
- Clean the sensor regularly: Remove dust and debris to ensure proper functionality.
- Inspect the wires: Check for any loose or damaged wires and repair as needed.
- Calibrate the sensor: Adjust the set-point to optimize activation time and duration.
Common Solar Light Sensor Issues
- Sensor is dirty: Clean the sensor to remove any obstructing particles.
- Sensor is loose: Tighten the mounting screws to secure the sensor in place.
- Sensor is damaged: Replace the damaged sensor with a new one.
- Sensor is out of alignment: Adjust the sensor to the correct orientation to improve light detection.
- Sensor is not getting enough power: Ensure the solar panel is receiving sufficient sunlight and the battery is adequately charged.
Visual Indicators of Solar Light Issues
Inspecting your solar light for visual cues can help identify potential issues:
- Light activation during daylight: Indicates a malfunctioning sensor.
- Insufficient sunlight: The light may need to be repositioned for optimal exposure.
- Failure to illuminate at night: Check for LED problems, sensor issues, or battery depletion.
- Flickering: This could be a symptom of wiring problems or LED malfunctions.
Troubleshooting Solar Light Sensor
Battery Has a Pull Tab:
- Ensure proper power flow by removing the battery’s pull tab.
Microprocessor Check:
- Reset the microprocessor by toggling the light switch.
- Replace a malfunctioning microprocessor.
Insufficient Direct Sunlight:
- Place lights in an area with at least 6-8 hours of daily direct sunlight.
Solar Panel Cable Check:
- Ensure secure connections between cables and the solar panel and battery.
- Replace damaged cables.
Ambient Light Source at Night:
- Relocate lights away from bright lights that interfere with the sensor’s dark detection.
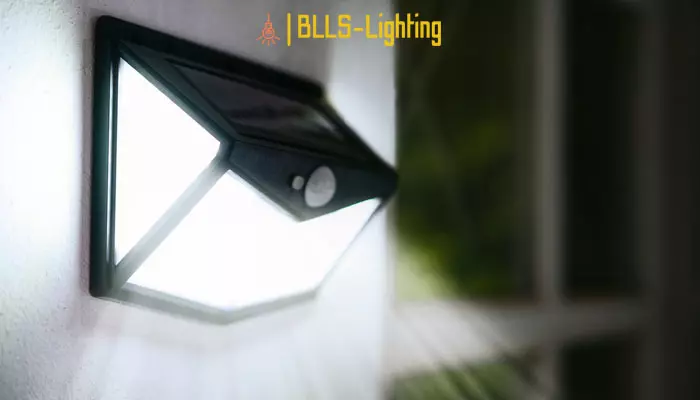
Passive Infra-Red (PIR) Dials (Motion Detector):
- Adjust PIR dials to optimize motion detection sensitivity.
Faulty Light Sensor:
- Consider sensor replacement if malfunctioning.
Battery Check:
- Replace batteries that have lost their charge.
Water and Sediment Accumulation:
- Regularly clean the solar panel and light sensor to prevent performance obstructions.
Faulty LED:
- Replace non-emitting LEDs.
Sensor Cleaning:
- Remove debris and dirt from sensors using a soft cloth and mild cleaner.
Sensor Angle Adjustment:
- Reposition the sensor for optimal detection of darkness and light activation.
Tips to help your solar light sensor work properly
Here are some detailed guidelines to ensure the proper functioning of your solar light sensor:
- Optimal Sunlight Exposure: Install the solar light in a location where it can receive direct sunlight throughout the day. Since the solar panel needs sunlight to recharge the battery, placing it in a shaded area may hinder the battery from receiving sufficient electricity. This could lead to inadequate light function during the night.
- Clean Sensor Maintenance: Regularly clean the light sensor to prevent dust and debris accumulation, which can interfere with its activation. Utilize a soft cloth to gently remove any dirt or grime that may have accumulated on the sensor.
- Battery Inspection: Regularly check the status of the batteries powering the solar lights. Over time, rechargeable batteries lose their capacity to hold a charge effectively. Ensure the batteries are adequately charged for the solar light sensor to function correctly. If necessary, consider replacing old or malfunctioning batteries to maintain optimal performance.
FAQ:
What should I do if my solar light sensor is not detecting light properly?
If your solar light sensor is not detecting light properly, try cleaning it first. Dust or debris may be obstructing its function. If that doesn’t work, you may need to replace the sensor.
Can I replace a faulty solar light sensor?
Yes, you can replace a faulty solar light sensor. Make sure to purchase a compatible replacement and follow the manufacturer’s instructions for installation.
How do I know if my solar light sensor needs to be repaired or replaced?
You’ll know your solar light sensor needs repair or replacement if it consistently fails to detect light, even after cleaning and proper positioning.
Are there any DIY methods to fix a solar light sensor?
Some DIY methods to fix a solar light sensor include cleaning it, adjusting its position, or checking for loose connections in the wiring.
What are the signs that indicate a problem with my solar light sensor?
Signs of a problem with your solar light sensor include inconsistent lighting, dim or flickering lights at night, or lights staying on during the day.
Where can I find professional assistance to repair a solar light sensor?
You can find professional assistance to repair a solar light sensor from local electricians, handyman services, or the manufacturer’s authorized service centers.
In conclusion, mastering the techniques to fix solar light sensors empowers you to maintain the optimal performance of your outdoor lighting system. By addressing issues such as sensor misalignment, dirt accumulation, or battery deterioration, you can ensure that your solar lights operate efficiently and reliably.
Whether it’s adjusting the sensor angle, cleaning the sensor, or replacing worn-out batteries, proactive maintenance is key to maximizing the longevity and effectiveness of your solar light sensor. With these troubleshooting skills in your toolkit, you can enjoy consistent illumination from your solar lights and enhance the safety and ambiance of your outdoor environment.
If you want to explore more about advanced solar energy technologies, you may want to learn about “solar tubes.” Please access the article “what are solar tubes” to delve deeper into this fascinating topic.